11/17-11/24/2024
Glass Projects
This week, I have been working on shaping glass into marbles and cups. I have had mixed success with both projects, but considering this is my third week with a torch I feel pretty excited about my results. Here are some of this weeks glass creations:


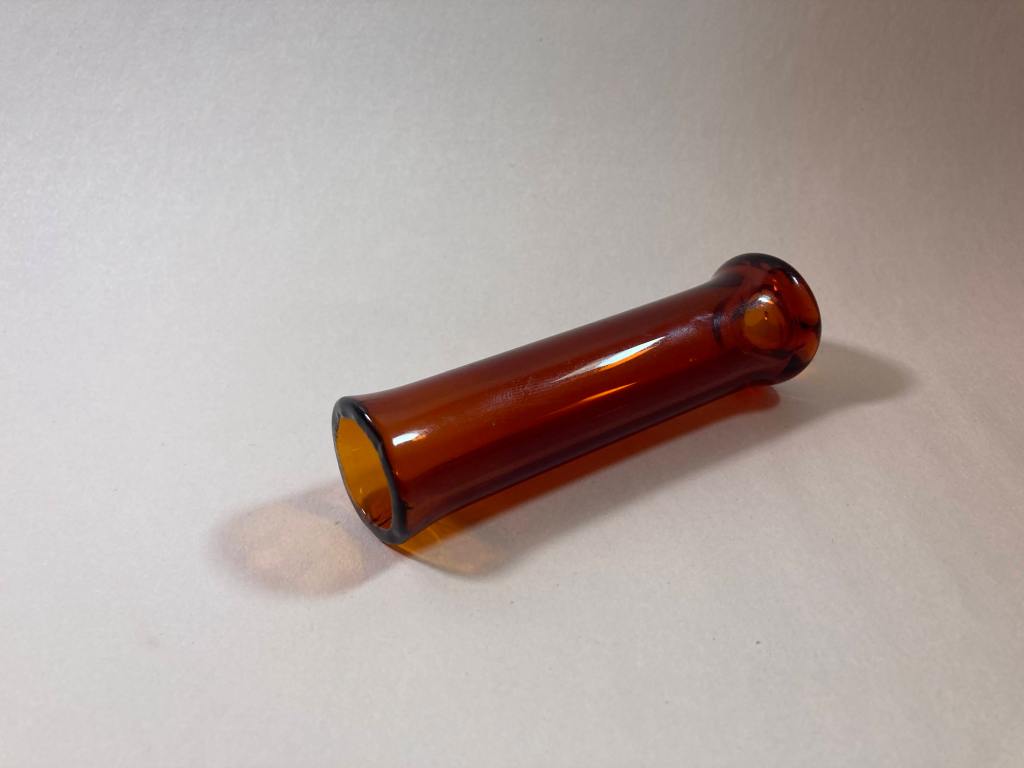
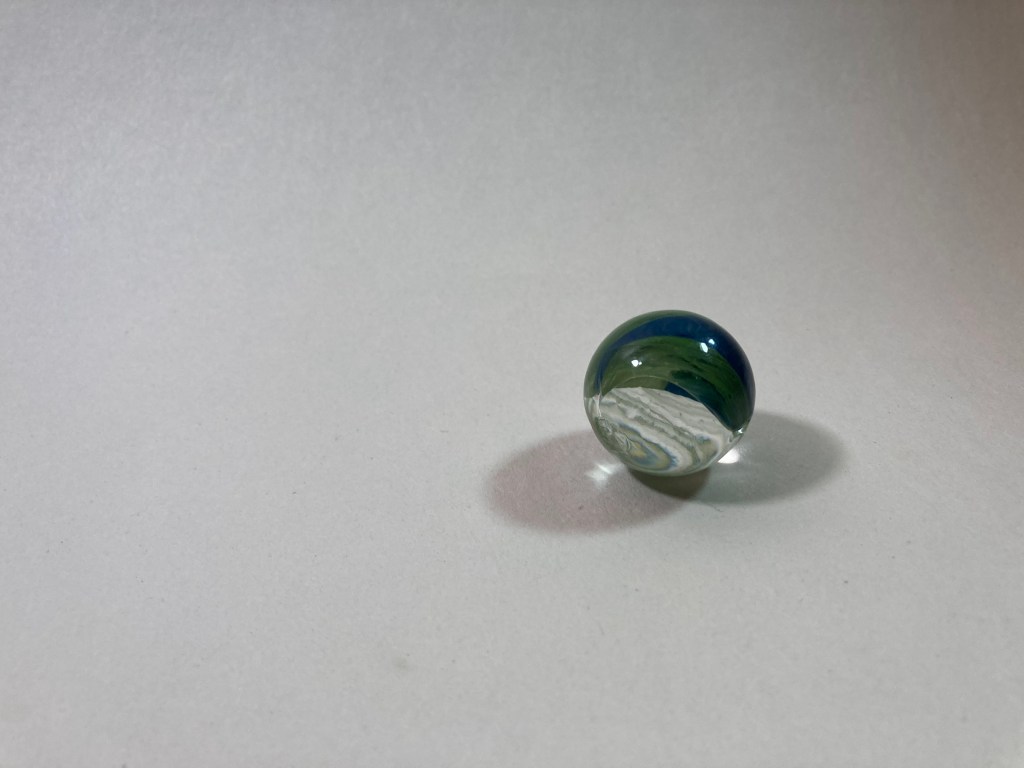

After some trial and error I made two “vessels”. Both hold water and function as cups but some more practice is needed :). Also pictured is my first glass marble which was formed by mixing 3 colors of glass rod into a clear rod and then using a graphite marble mold to shape the piece.
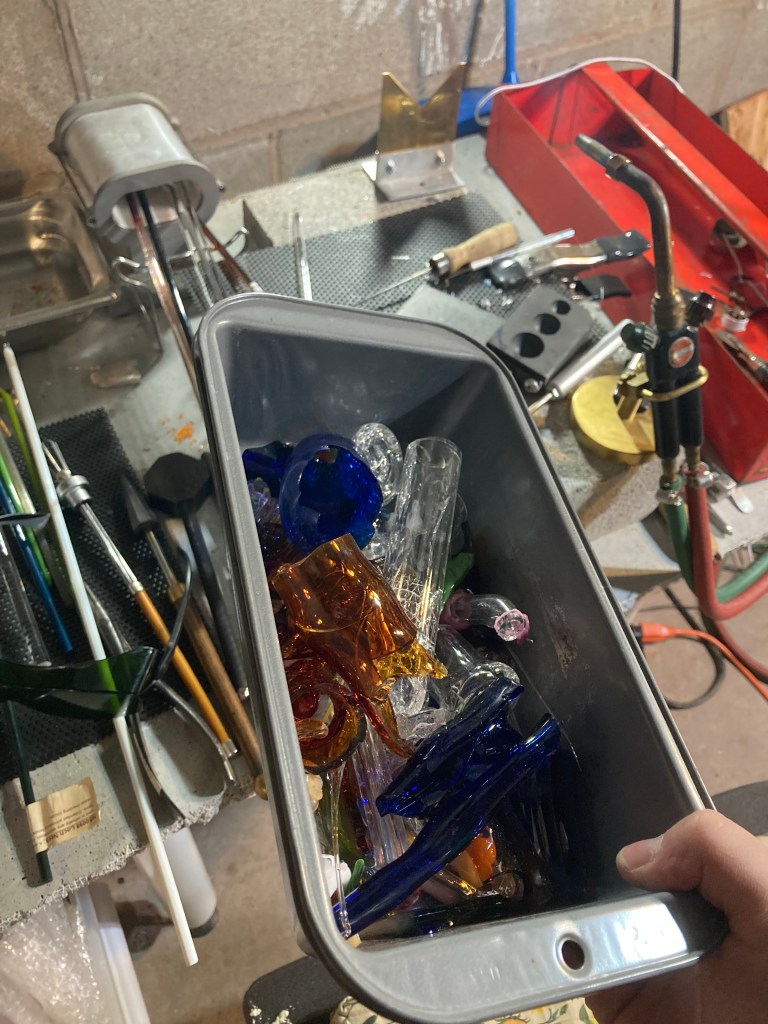
Additionally, I am looking into ways to reuse all the glass scraps I generate when a piece cracks or doesnt turn out. One thing I am trying is turning scraps into colorful magnets.


I spent some time this week thinking over the problems with the way I buy and use Oxygen. In order to create a flame hot enough to melt glass, oxygen is added to the propane flame in a 5:1 (o2 to propane) ratio. Earlier this month I purchased an oxygen tank that holds 60 lbs of compressed o2 gas.

One tank lasts me about 10-12 hours of working time and costs $20 to refill. This means every few days, I load a 3 foot tall steel oxygen tank into my Honda Fit and drive 20 minutes each way to the gas supplier. The cost of the gas is less of a concern than the time and hassle of refiling. I have started to look into concentrating my own supply of oxygen at home using a consumer grade oxygen concentrator, but the initial investment for the concentrator and other needed equipment is between $2-4k. This equipment will pay for itself for sure, but its a large upfront cost that right now feels hard to justify. Another option is to purchase a larger o2 tank, which would mean less time spent lugging the tank back and forth but bringing a larger tank up and down my basement stairs may prove difficult. Lots of time this week has been spent researching this problem.
Other Project Updates
In addition to glass work, I made progress on three side projects this week.
1 – Light Box / Photobooth
Glass is very hard to photograph. In order to make out any details, you need bright, flat, and even lighting. I decided to make a makeshift light box out of materials I already had lying around. The lightbox is made of a cardboard box, two LED bulbs and a sheet of paper.

Although not pretty, the results are close enough to what I was after that I am satisfied for now. Going forward I plan on experimenting with different types of bulbs, different paper for the background and getting some foam blocks to help prop up pieces during photo shoots. Check out the latest images on the “Glass Work” page to see the results.
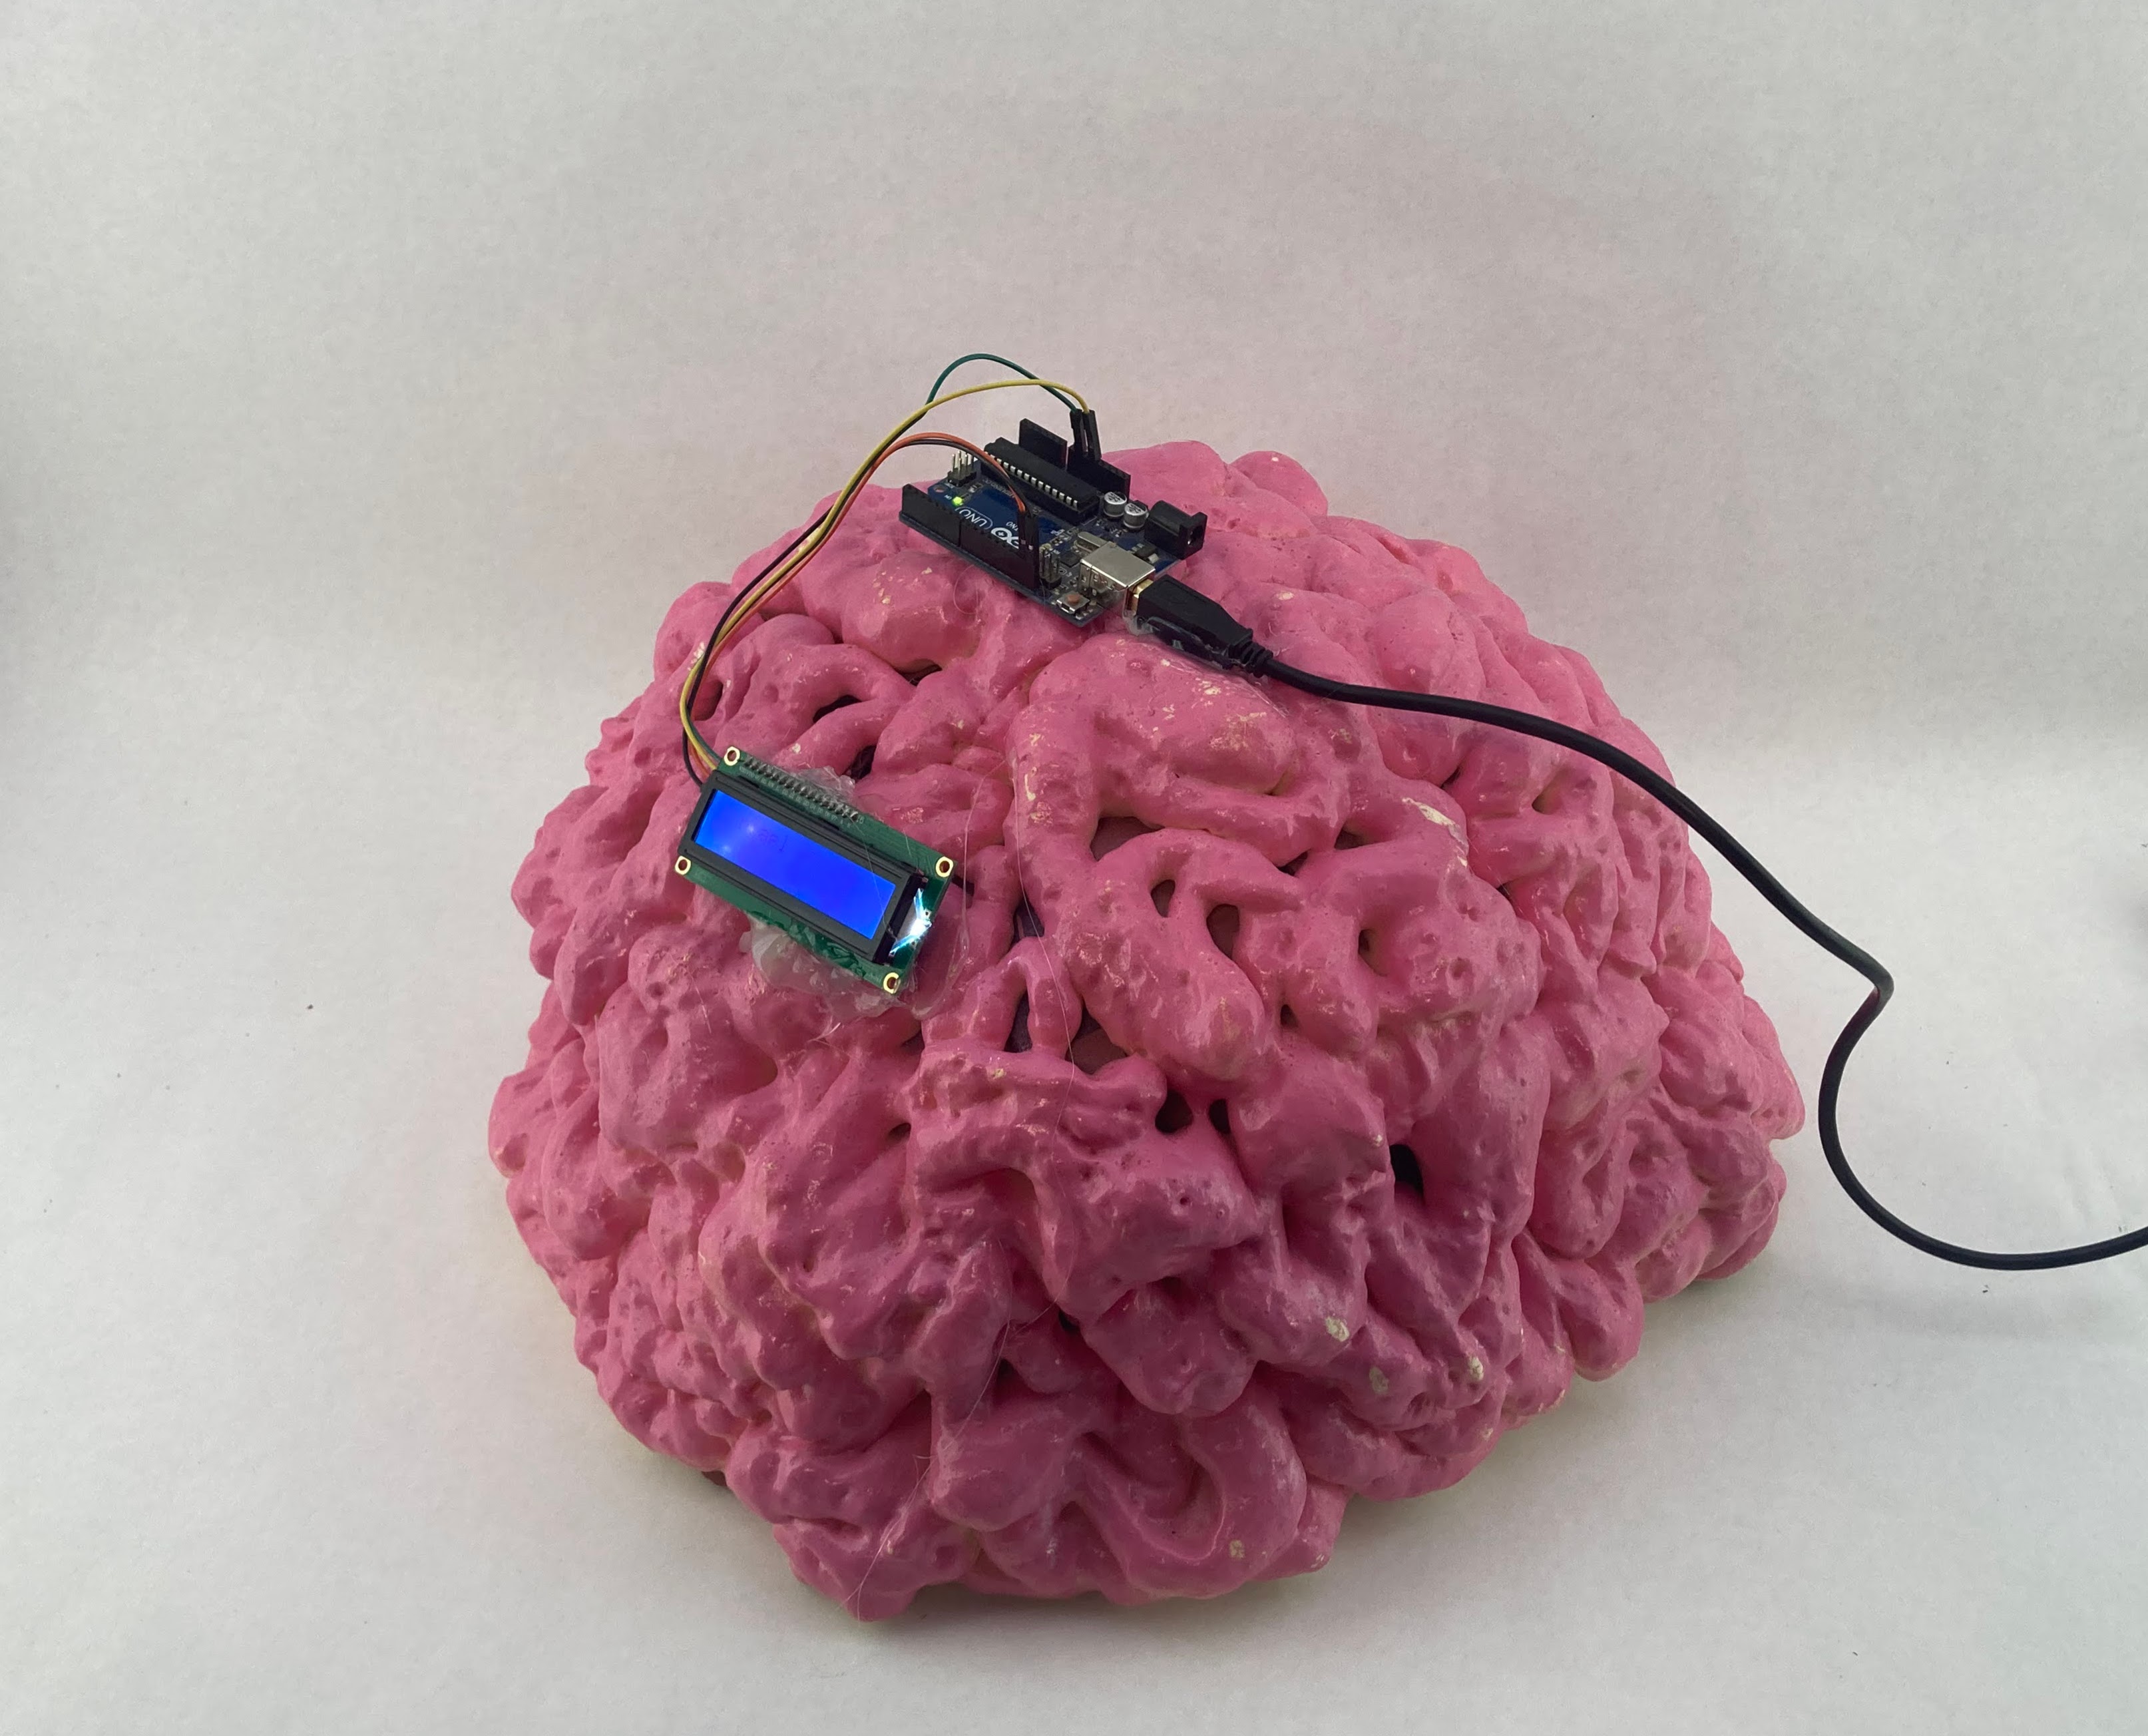
2 – Vera’s Brain
This january I threw Vera (my girlfriend) a “Vera themed” birthday party. Party guests were asked to show up dressed as vera, the house was decorated with life size cardboard cutouts of vera, I made and printed out a giant crossword puzzle that guests solved using their knowledge of her life, her favorite foods and more, but the star of the show (in my opinion) was Vera’s Brain. Vera’s Brain, or VB, is a cardboard and spray foam brain, painted bright pink and equip with a microcontroller and LCD screen. Every few seconds , the screen will display 5 random letters. Sometimes these letters make a word, most of the time they dont. To me, this piece represented the innate whimsy that Vera exudes, and the sometimes puzzling but lovable way that her brain works.
Anyways, after the party this piece sat dormant and eventually was robbed of its parts. I wanted to get it working again to fully document it, so I spent some time this week at the Rochester MakerSpace rewriting the code and restoring the brain to its former glory. To see it in action, visit the project archive page.
3 – Arcade board repair
Earlier this month I was contacted by an arcade enthusiast who needed help getting a Tekken 5 arcade cabinet up and running. The cabinet had a few issues, mostly CRT related that I was able to diagnose and repair, but once the cabinet was operation it was clear that there were some underlying issues with the Namco System 256 hardware that needed to be sorted out. The system would always turn on, but it would not always boot into the game and the disc drive would not always spin at the correct speed. Last week I pulled the system 256 board out of the cabinet and this week I had some time to dig into it.
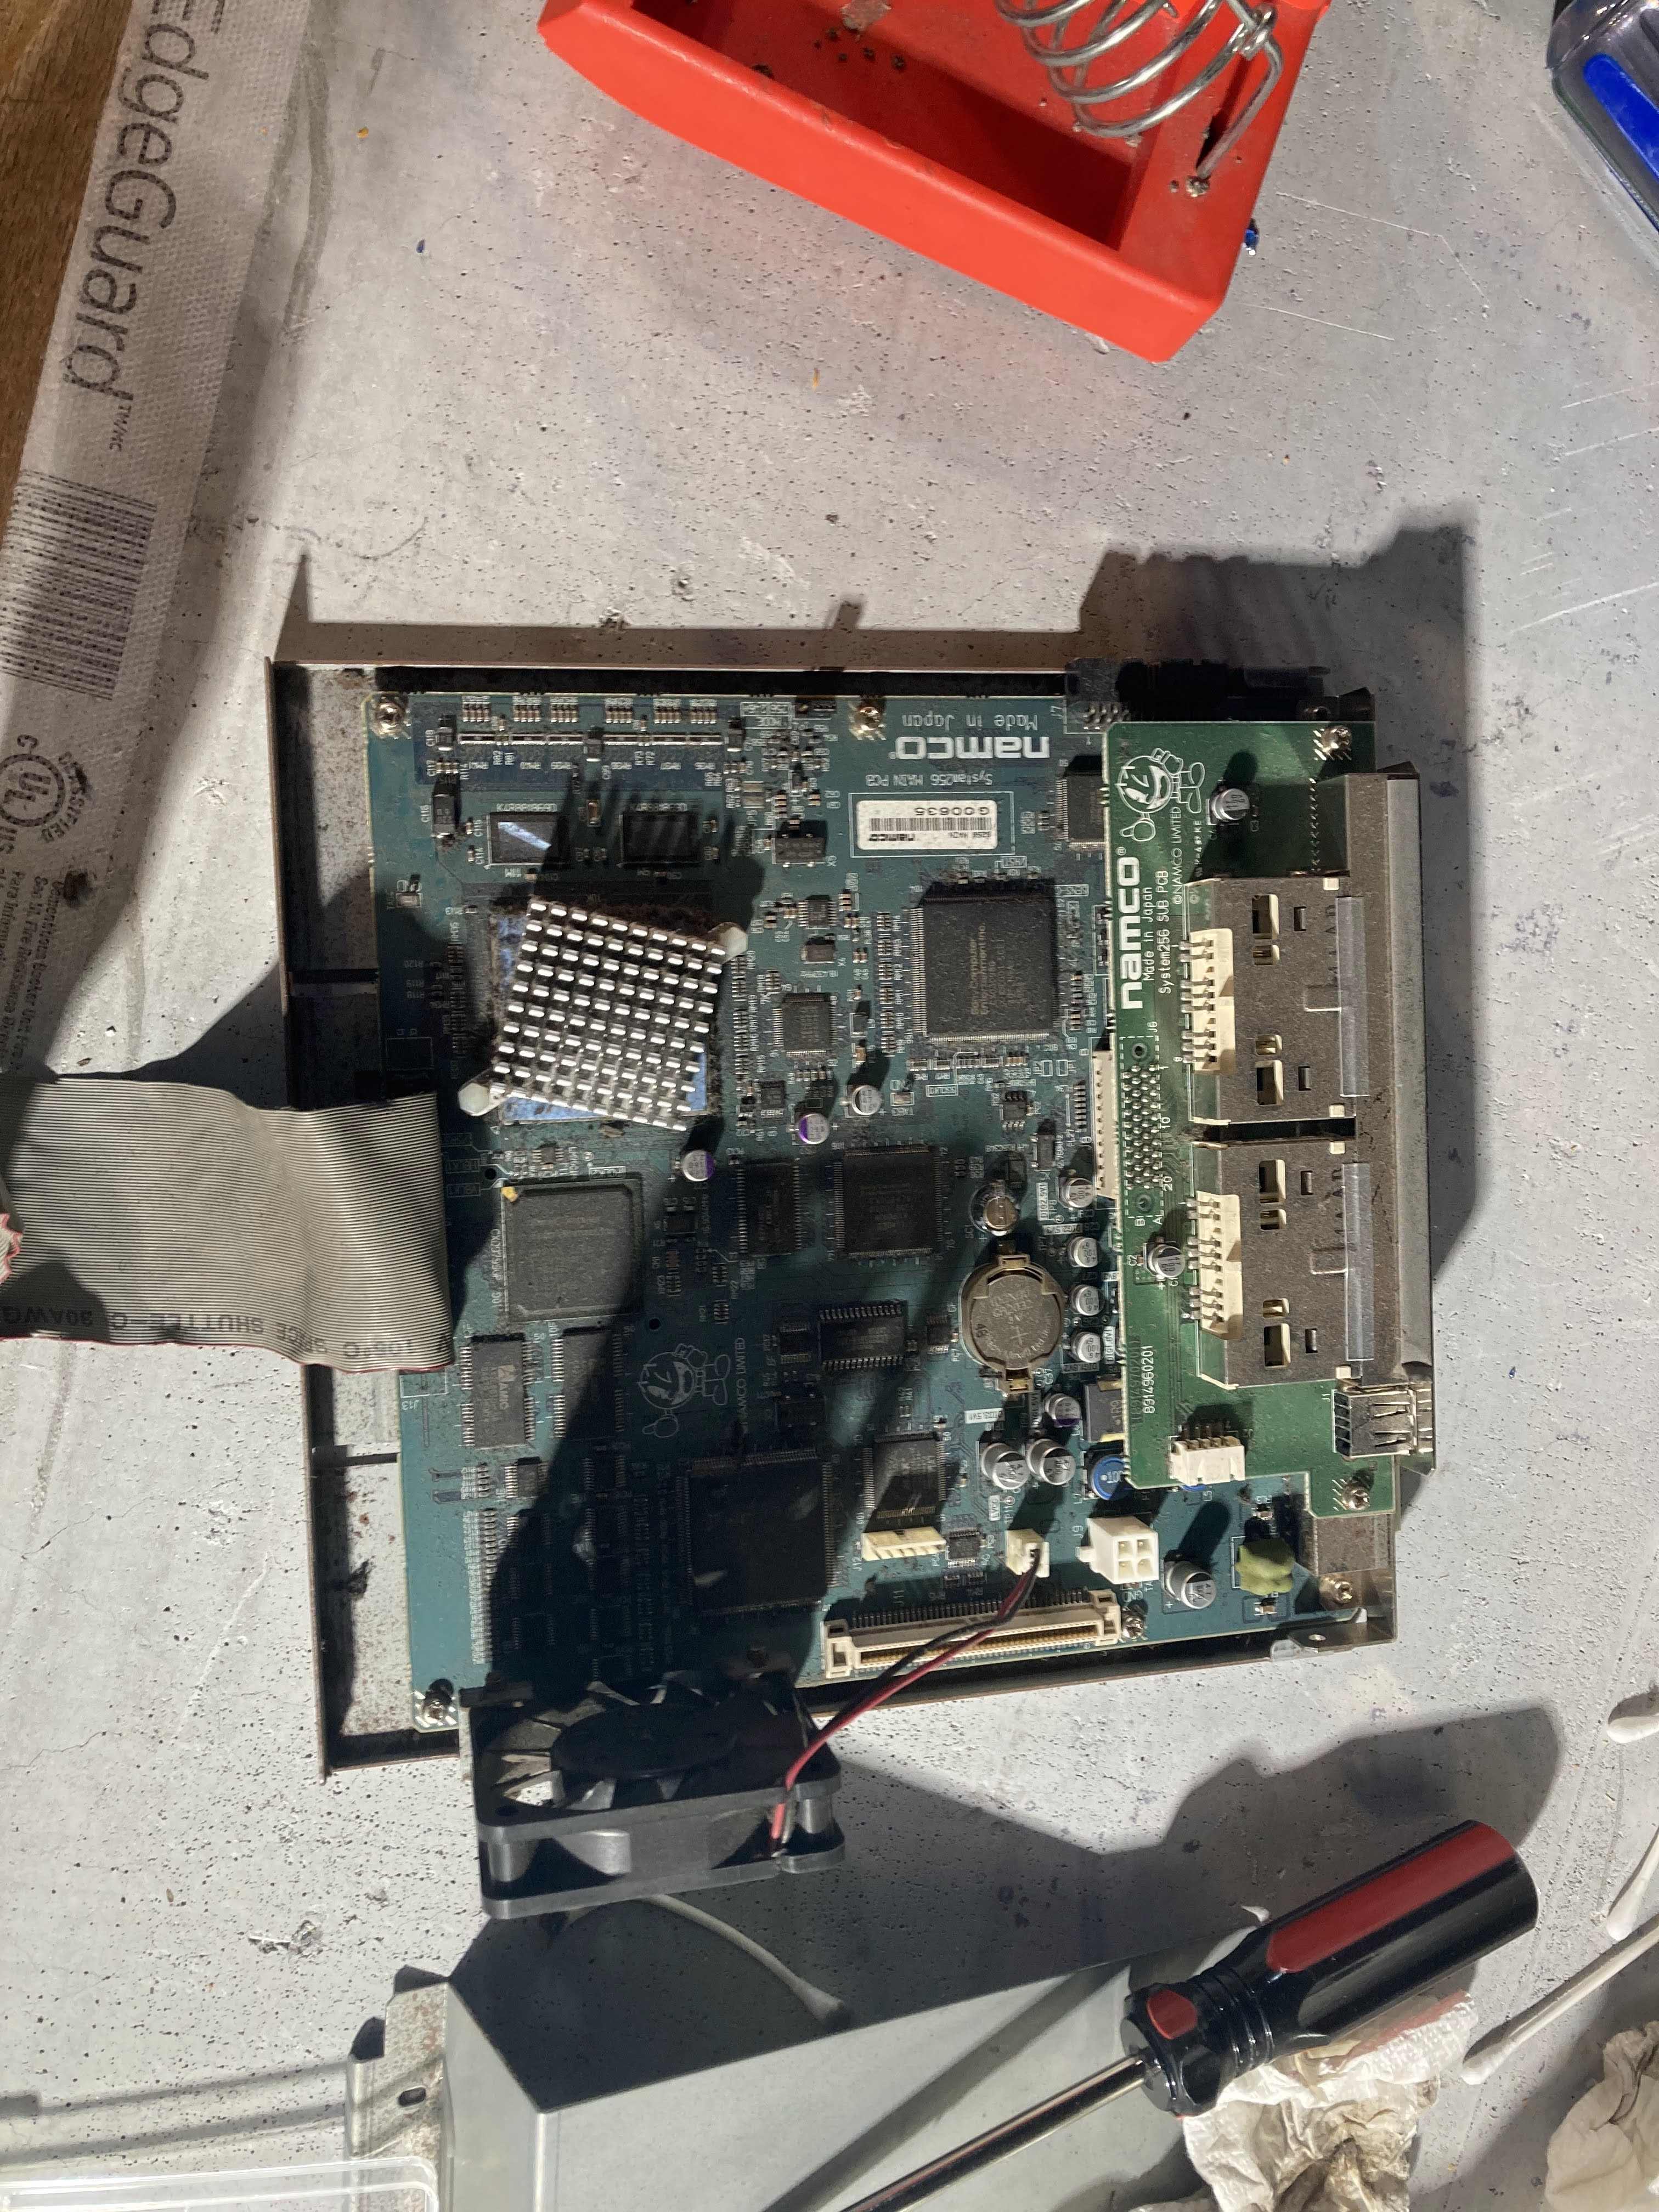
After a quick cleaning (which was much needed), I inspected all major headers and connectors and found many cold and cracked solder joints. I reflowed solder as needed, cleaned the whole board with 91% isopropyl alcohol and then reassembled the system. I was also able to source a replacement for the disk drive (not as easy I thought…), so once that arrived it was installed as well. I will be testing the system this upcoming week, but I feel confident that the system will function for many years to come.
If you made it this far, you either are my parents, or you actually enjoyed reading this! Either way, thanks. More updates coming soon.

Leave a comment